-By CrazyAirborne
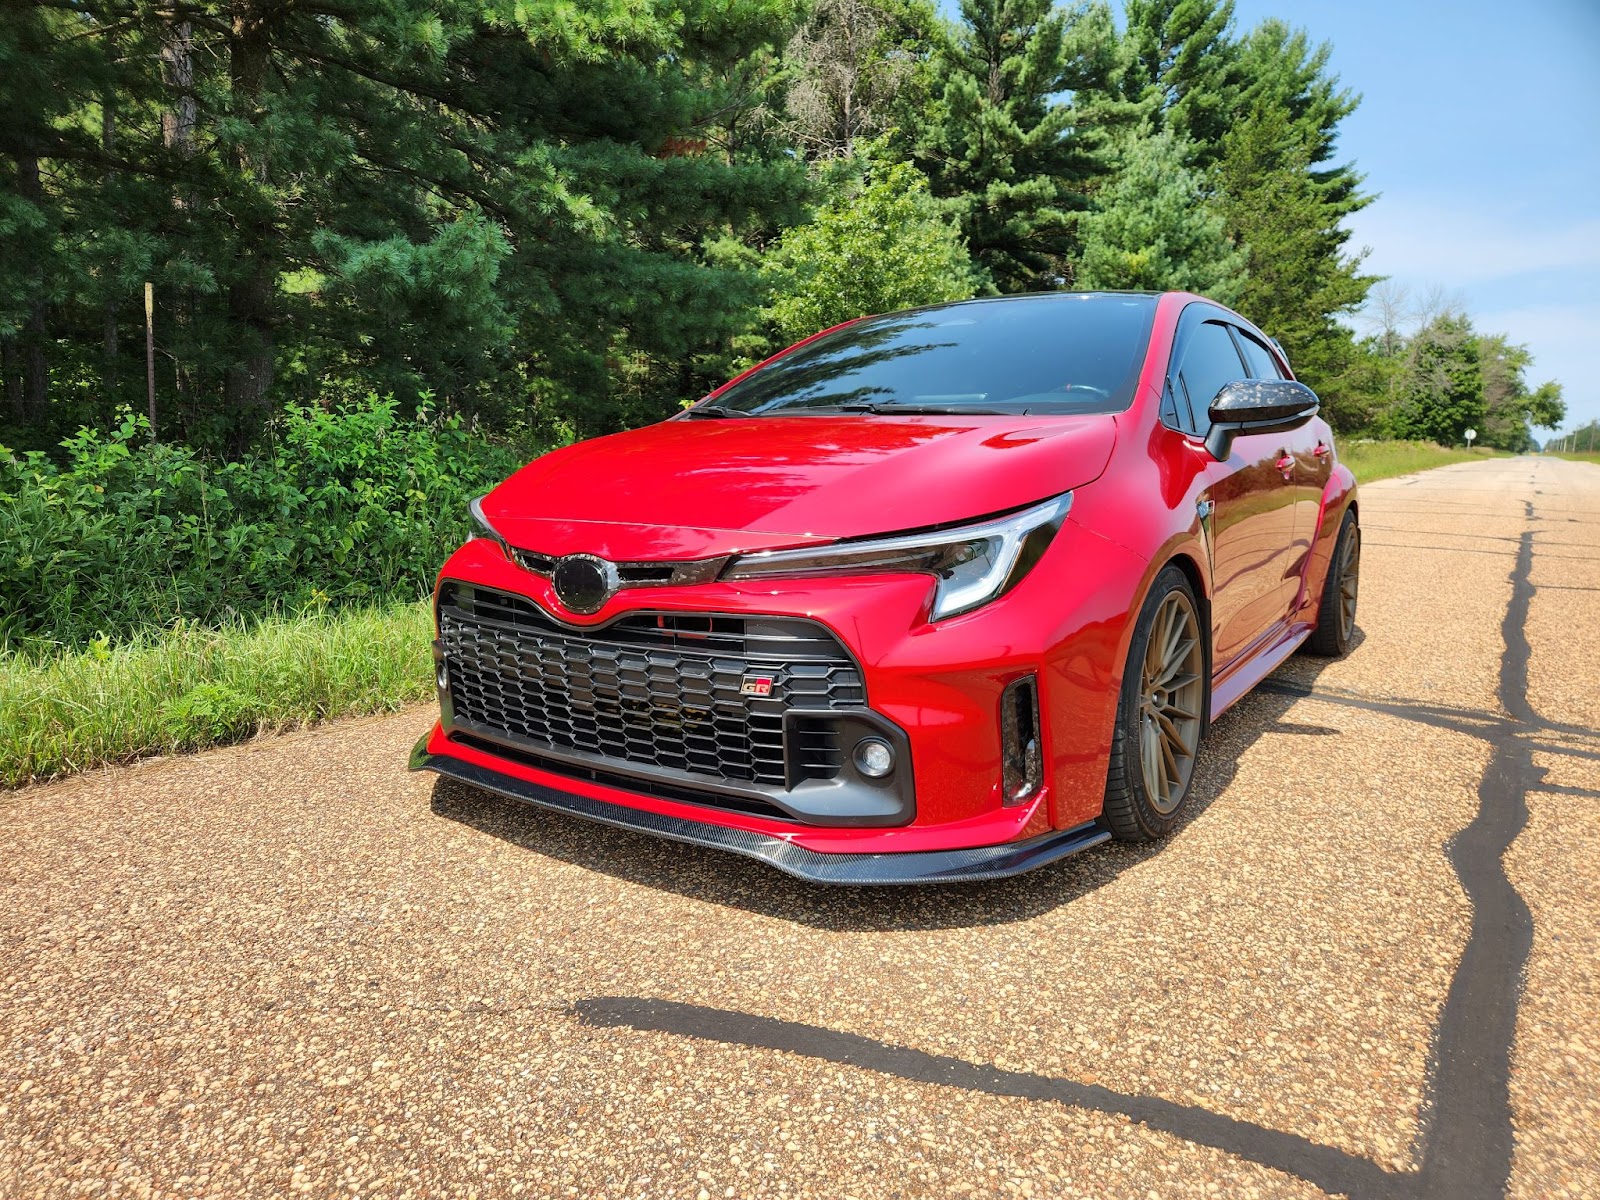
Product Link: https://extremeonlinestore.com/collections/toyota-corolla-parts-accessories/products/2023-up-gr-toyota-corolla-carbon-fiber-front-lip-splitter
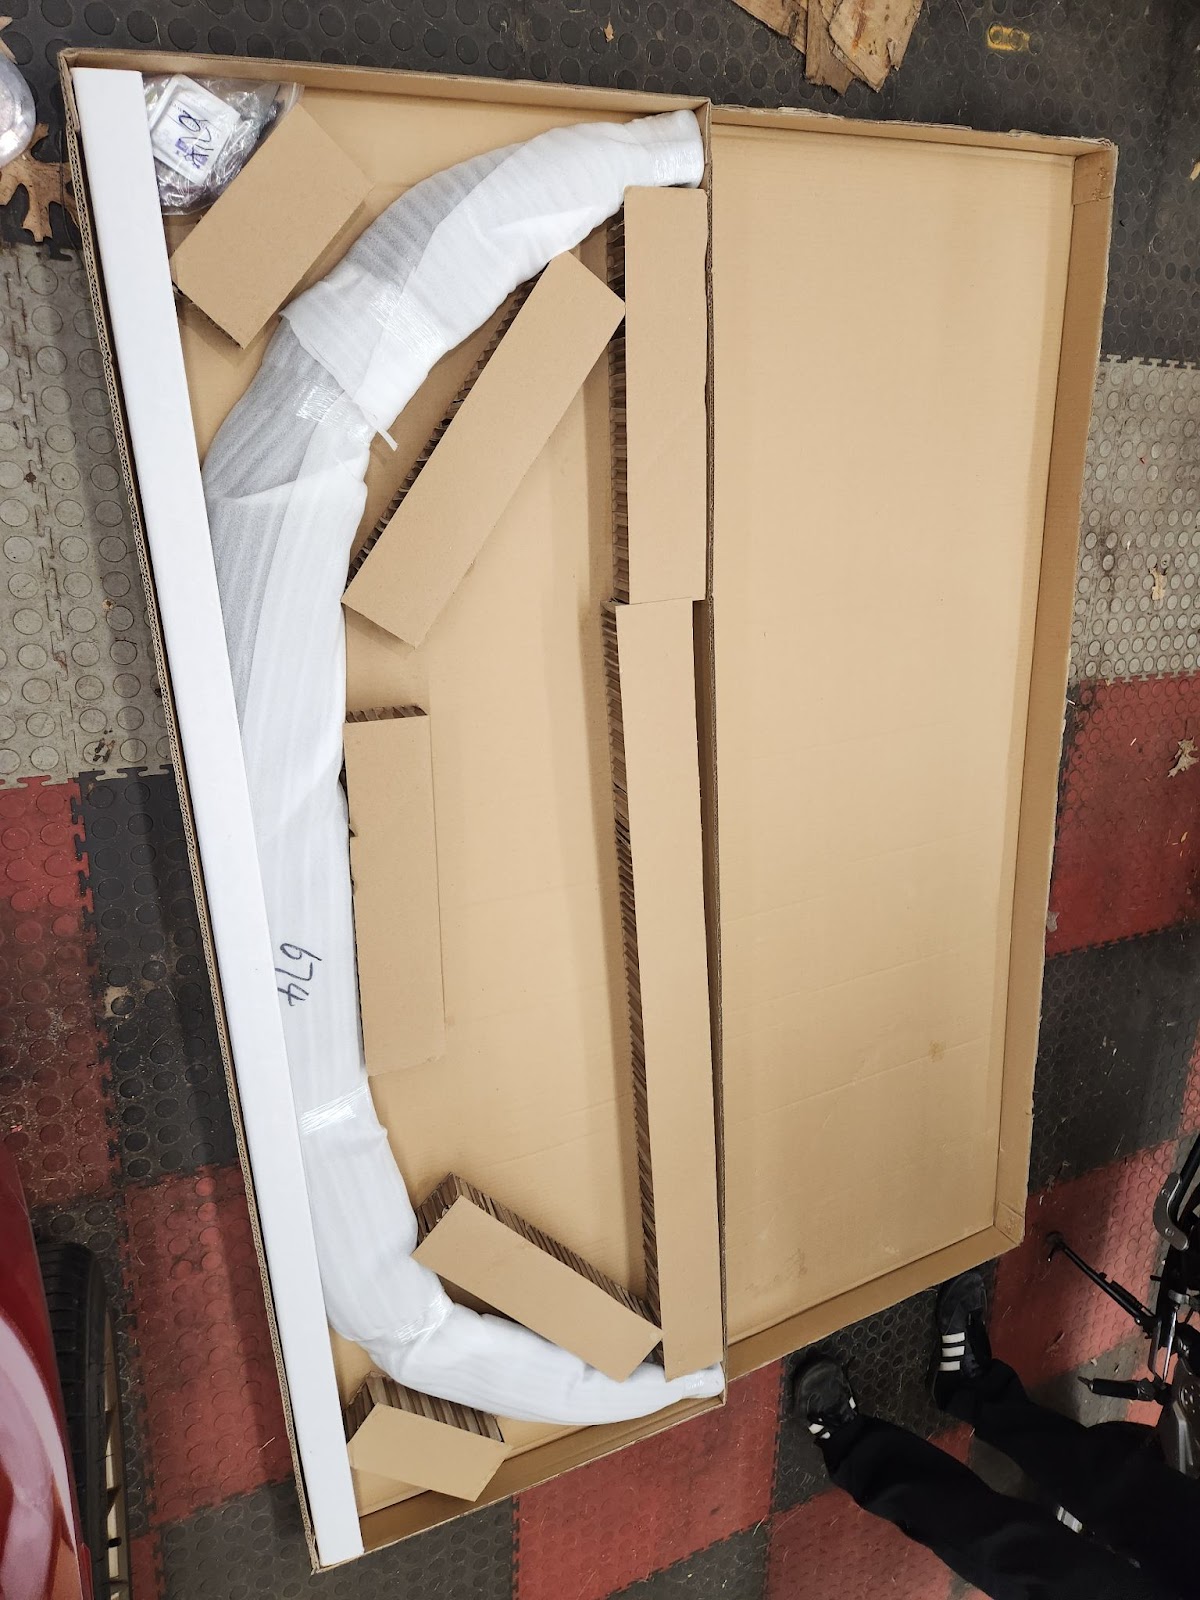
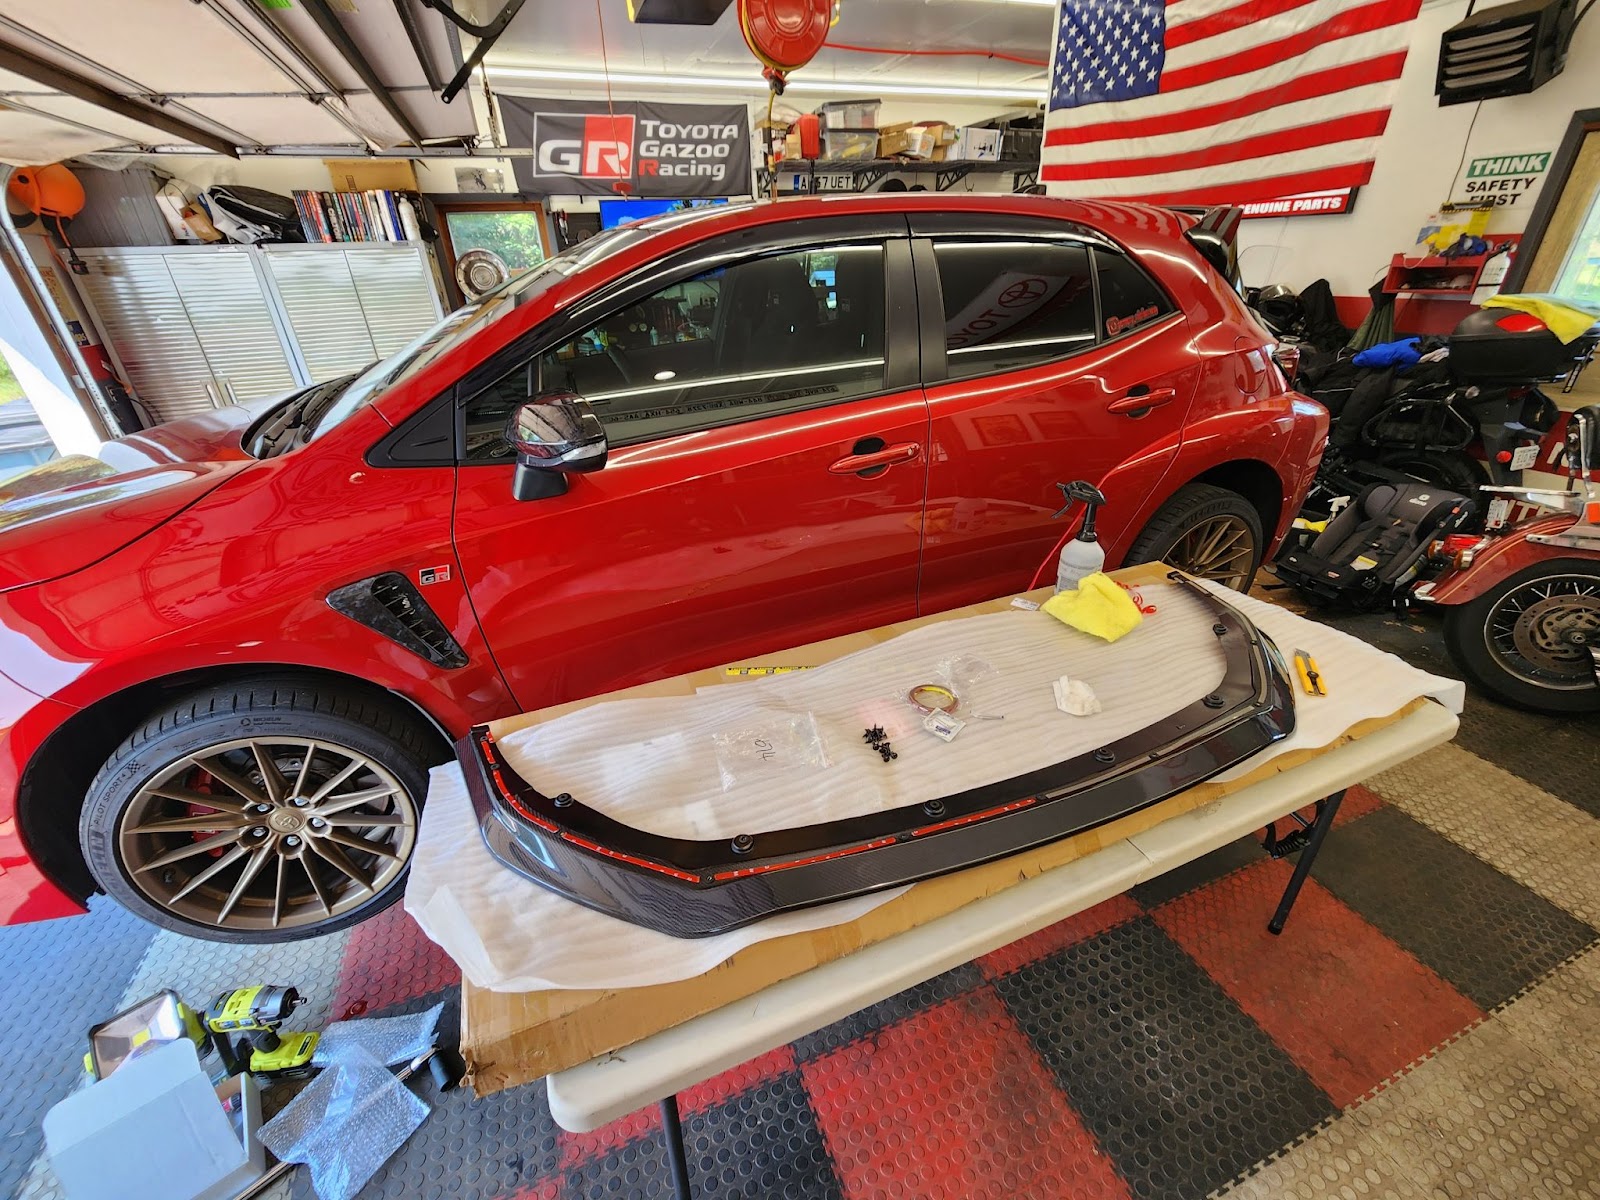
Extreme Online Store - Never purchased from these guys before, but I was very pleasantly surprised by the quality.
First off, it came really nicely packaged. Zero damage in shipping.
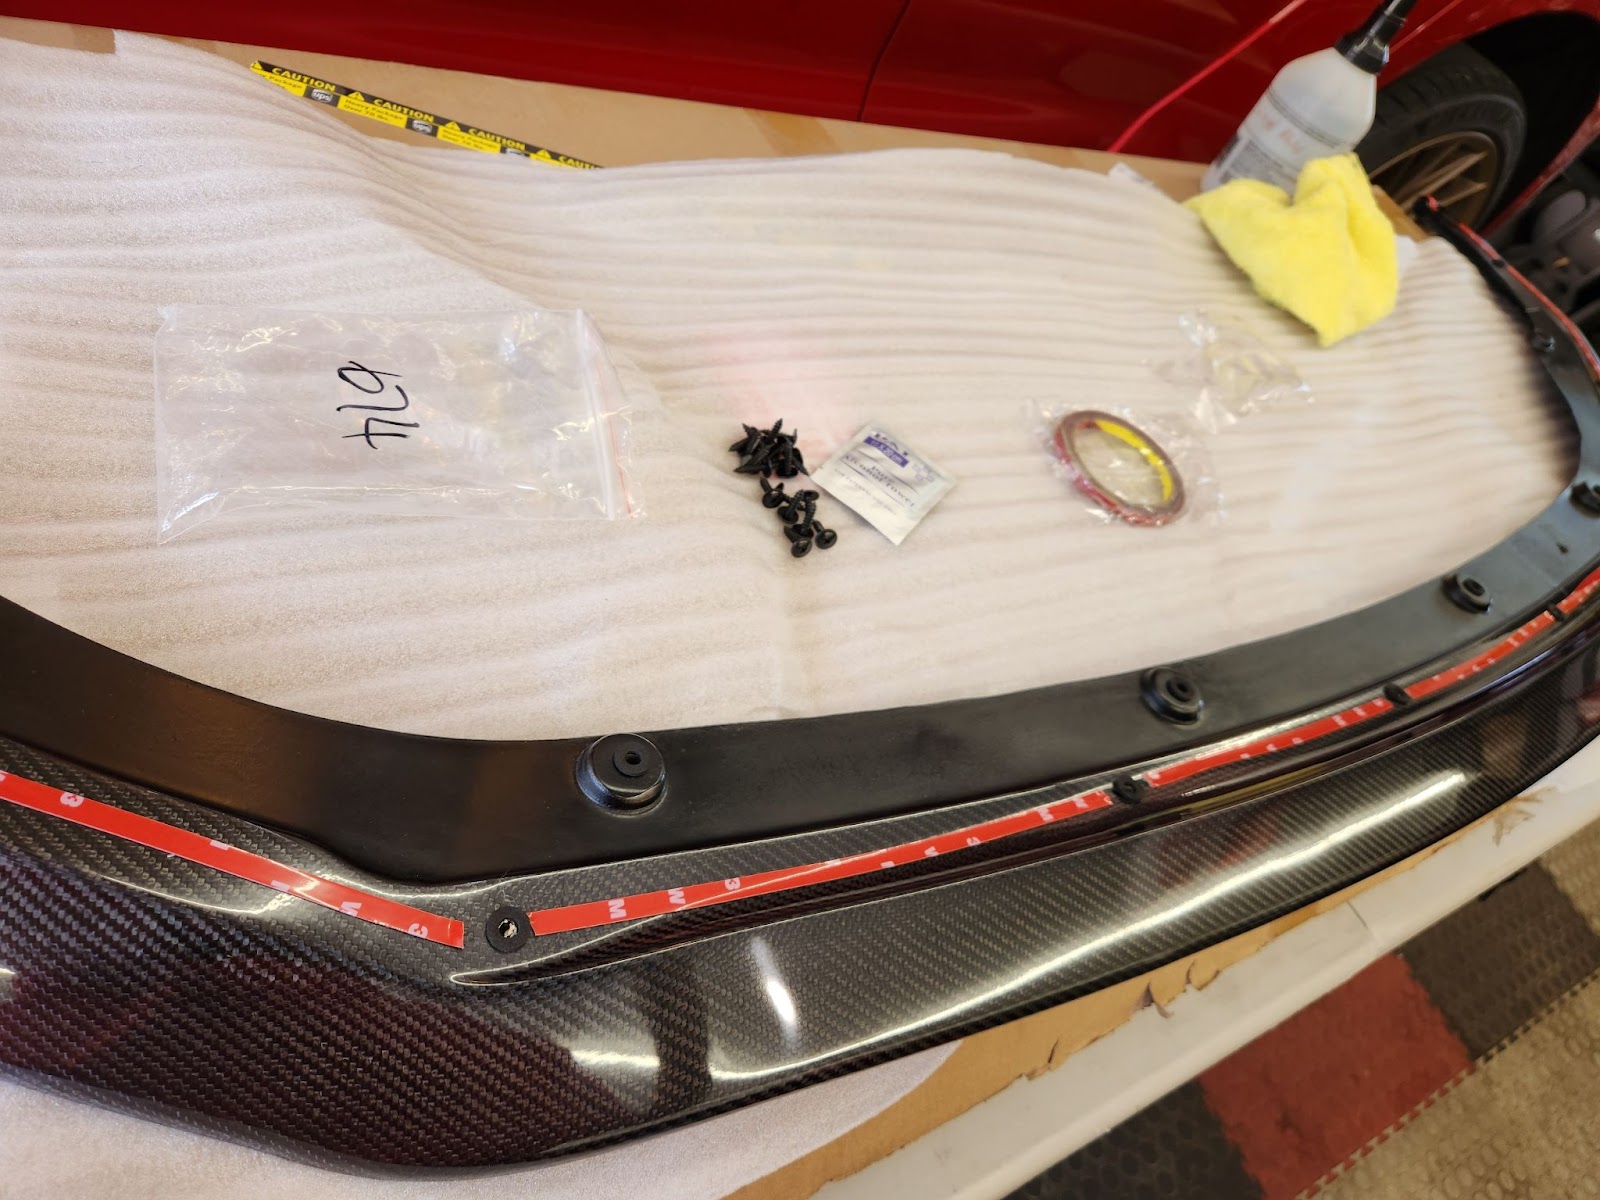
The quality is really quite surprising for the price. They provide Isopropyl wipes, more than enough double sided tape, as well as more than ample number of screws for additional reinforcement.
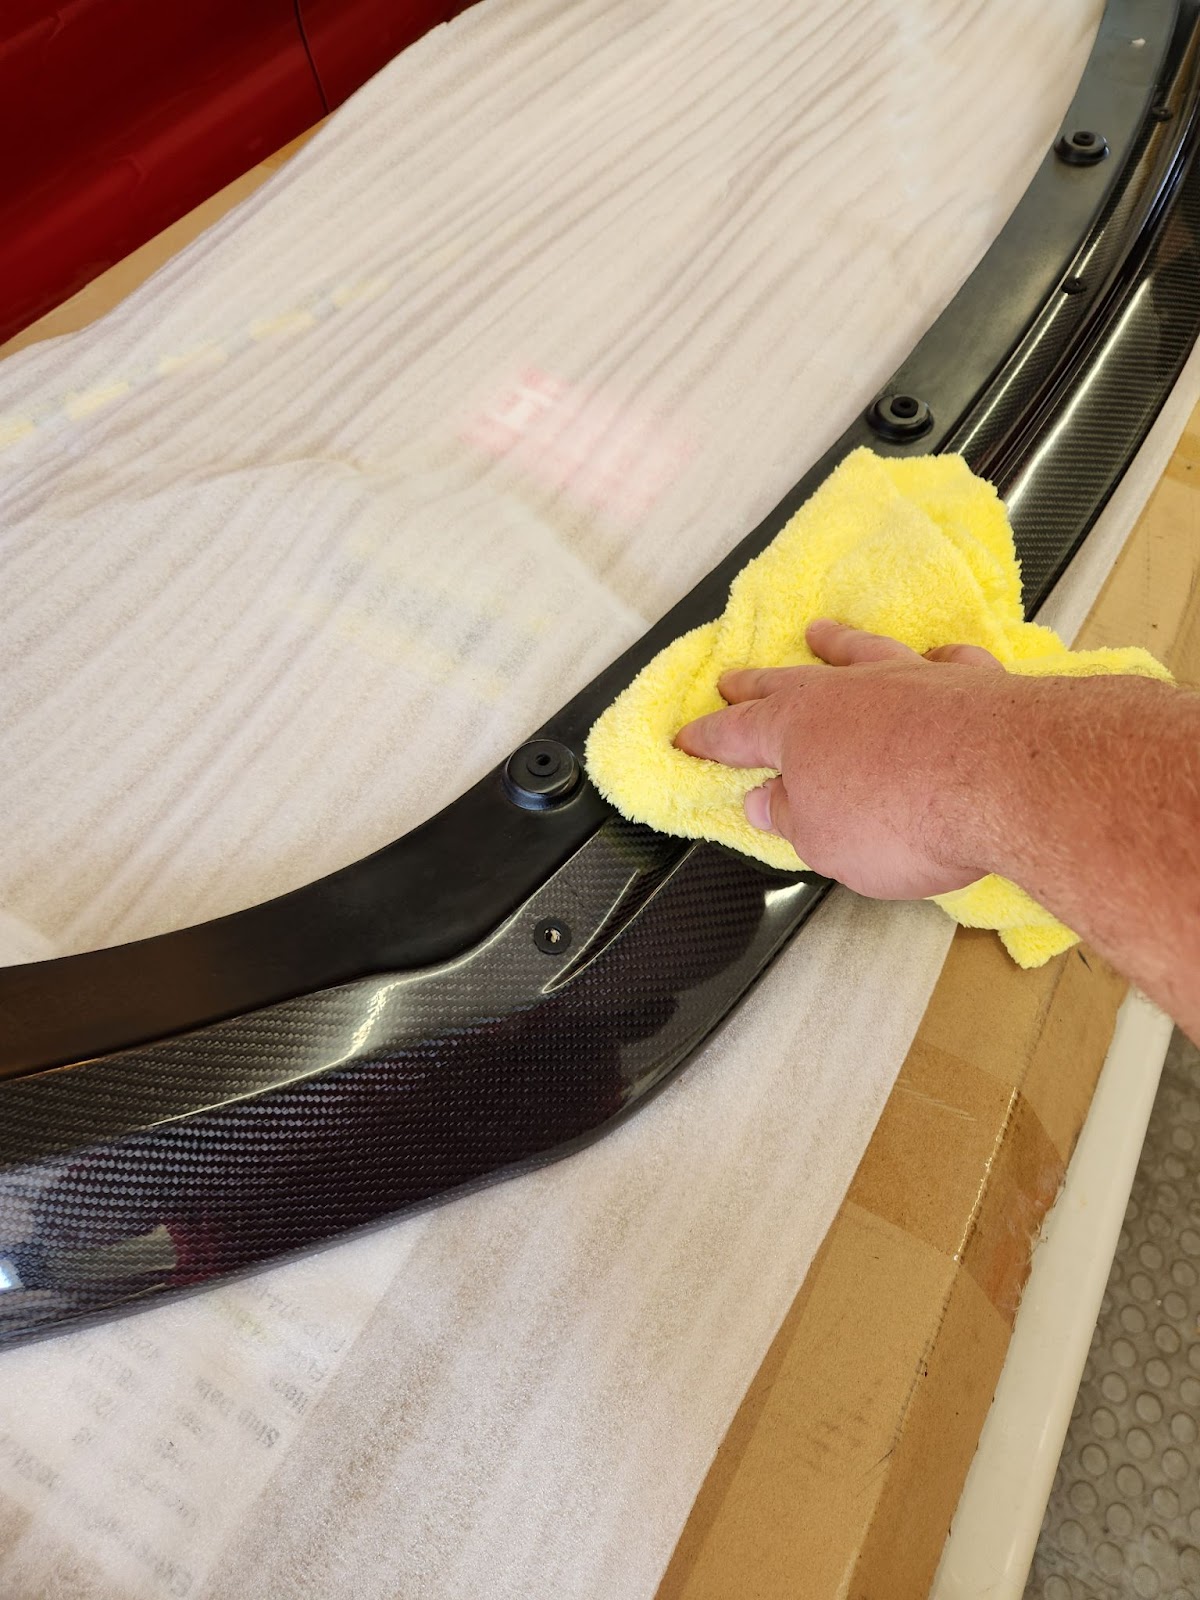
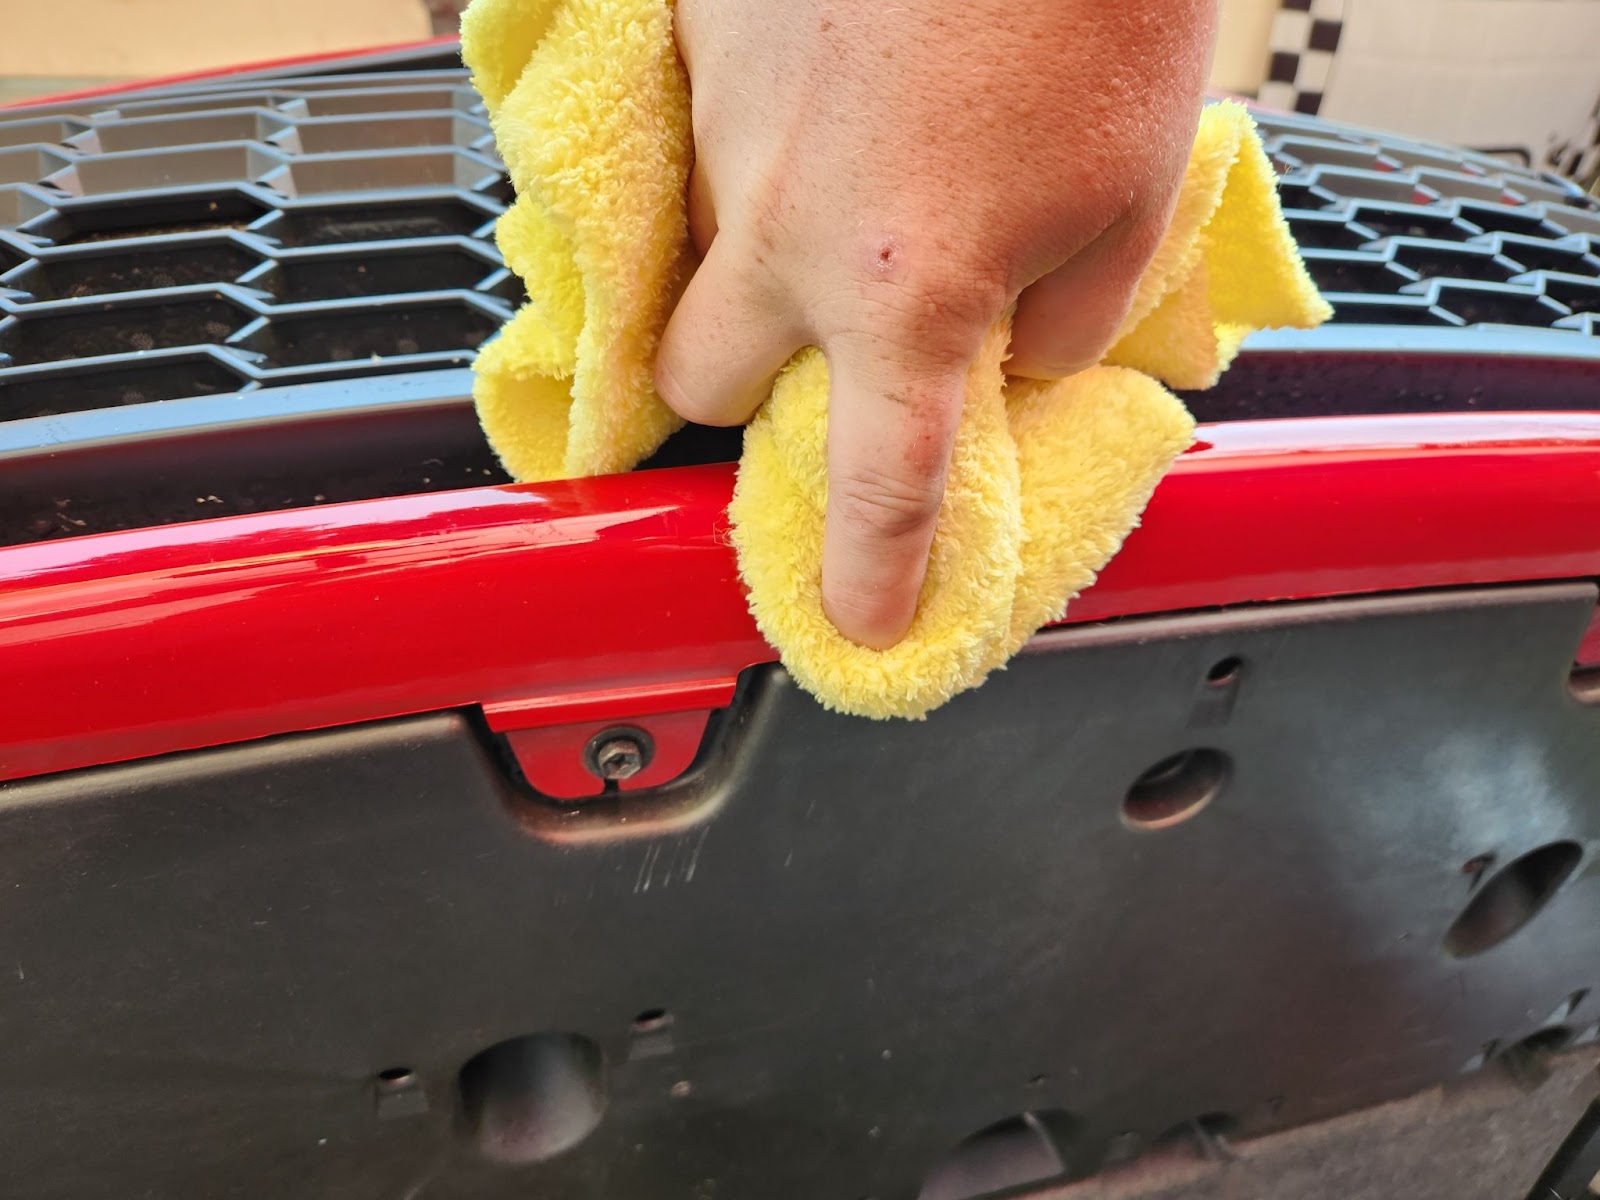
First things first, get the car up on jacks or ramps just to make it easier for you. You need to clean the front bumper lip and a few inches of the under tray really well so you can get good adhesion. After I cleaned the car really well, I used the provided isopropyl wipes on both the new lip and the cars bumper to get the best adhesion possible.
Then I carefully applied a line of double sided mounting tape to the lip. I chose to do a single line between the forward most mounting holes. I did not do a rear line of adhesive, as that would have stuck to the front undertray and I want that to remain removable separately from the lip.
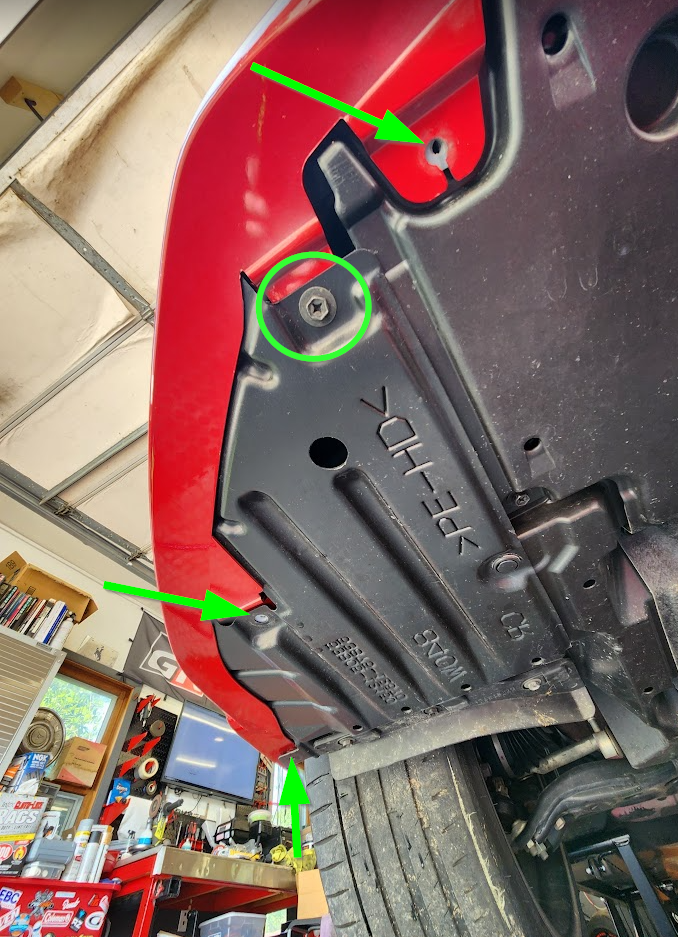
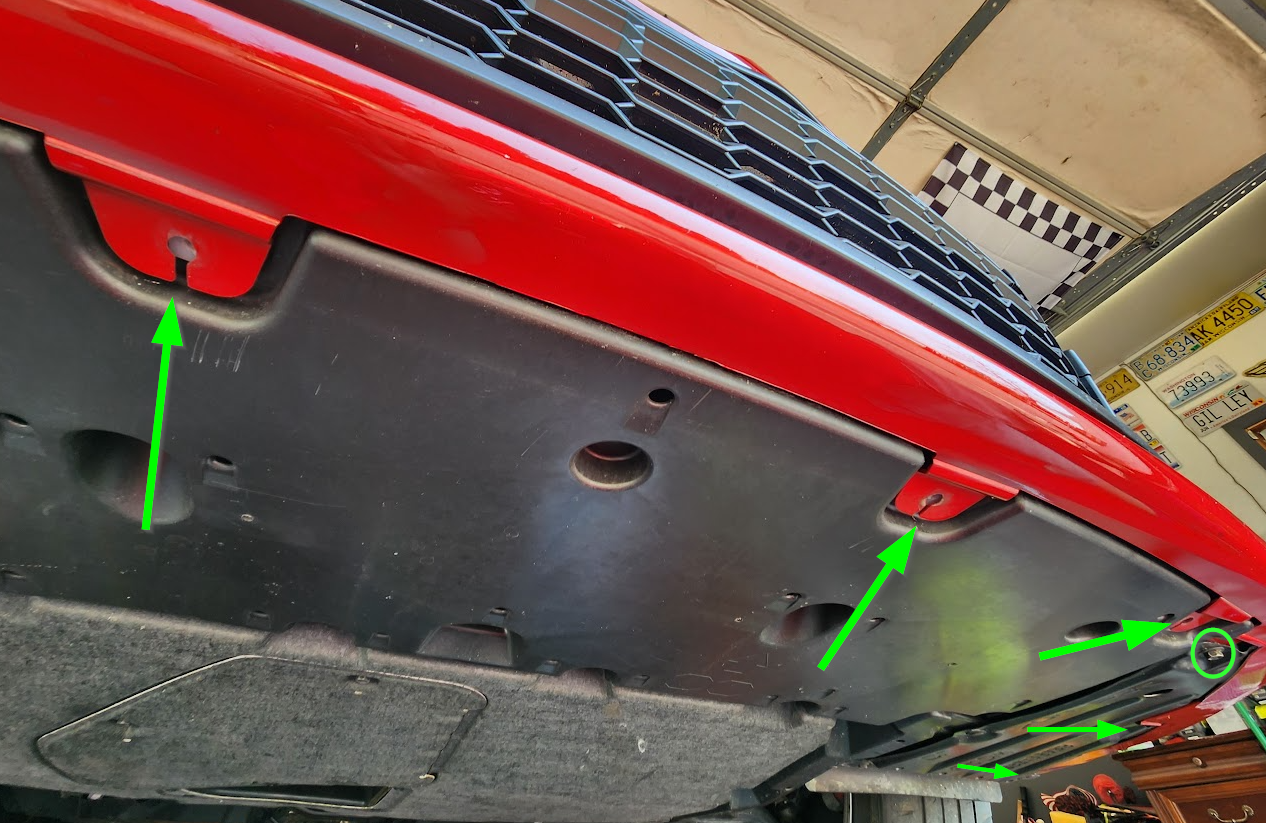
Once the tape was on, I moved over to the car, removing the 3 screws highlighted below on each side of the car, and the 2 in the center. 8 total screws. All are 10mm. Take note of the ones circled which don't get removed on each side.
Now I would recommend doing a dry run (not removing the adhesive backing) on the lip and get it lined up and make sure all the holes look good, feel free to screw it in and take a step back, it looks great! I had perfect alignment of all mounting holes.Once I was confident it was going to fit perfectly, I dropped it back onto my table and removed the backing from the mounting tape.
Now its a matter of getting it back into place, holding it in position while running a couple of the screws back up into the bumper spots again. It was easier than expected because the lip is light and rigid! I did not feel the need to call a helper over to hold it, but that would be nice if you have someone available. Put those 8 screws back in and boom, you could leave it at that and be done.
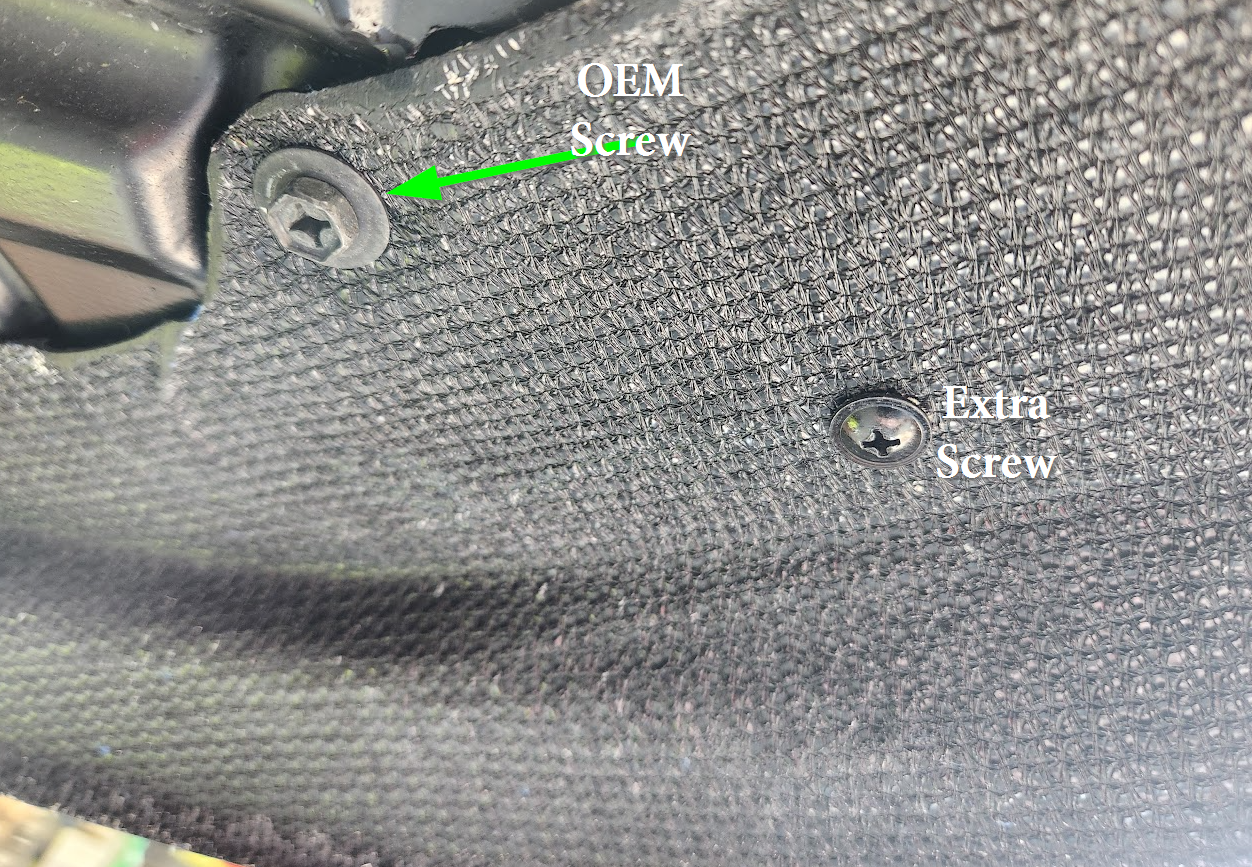
The two outermost corners of the lip looked like they could use a little more support, so I used the supplied screws and screwed them into the bottom of the bumper very easily. This really helped suck the lip up into the bumper in those spots. Since the holes are down under the car, I wasn't too worried about adding some tiny screw holes. No one should ever see them even with the lip removed.
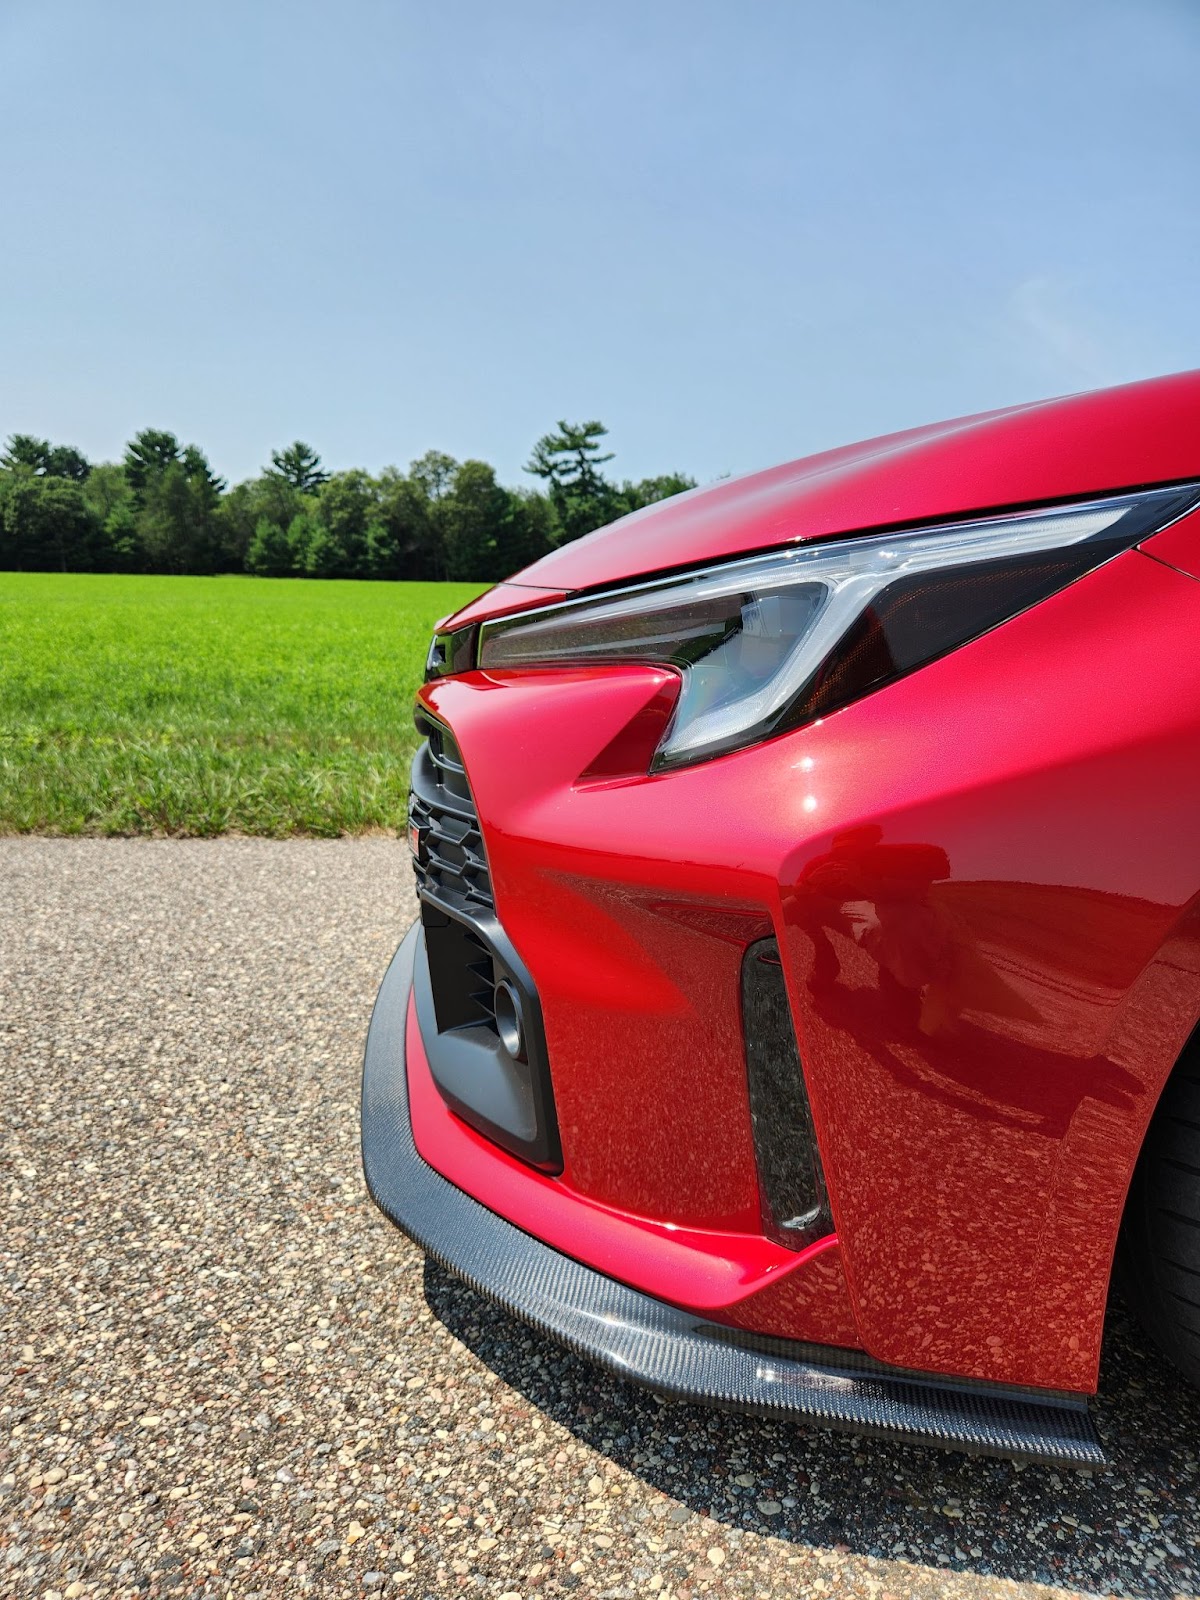
Since I do track my car, I decided to add additional screws in the very front of the lip as well in the predrilled spots on the lip. I added a total of 6 extra screws to my lip and It feels rock solid on there now. 8 OEM screws, 3M tape, and 6 supplemental screws, this thing isnt going anywhere.
Overall I'm extremely happy with this lip. The fit was literally perfect. The finish has zero flaws that Ive been able to find. The price is quite good all things considered.